
|
|

.JPG)
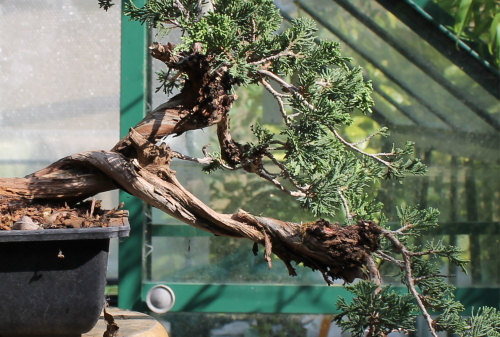
After allowing the Juniper to settle in its new pot for 4-5 weeks, I began the process of styling the tree into a bonsai by selecting those branches I would use in the final design.
The tree had a number of areas where a whirl of branches emerged and I slowly worked over the bonsai ensuring that no more than 2 branches emerged from any one point on the trunk or first branch.
Although keeping the dense whirls of branches would have helped create a more instant heavy mass of foliage, on closer inspection they looked ugly and would ultimately create large 'lumps' of wood on the bonsai (as can be seen in the image below).
Detail image of the end of the branch where I have already removed a large number of small shoots and branches, leaving a large, ugly knot of wood.
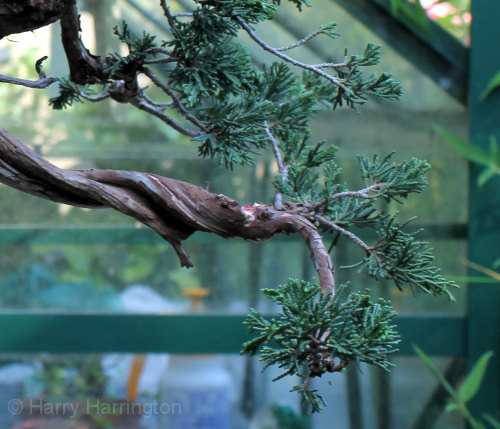
By very carefully following the twists and turns of the live veins along the first branch, I was able to cut away surplus wood created by the branches I had removed, leaving just the live veins supplying the remaining foliage.
.JPG)
I then used brass wire brushes (steel wire brushes are often too harsh for this work) fitted to a Dremel carving machine to gently clean the deadwood and remove the thin upper layers of the mature bark.
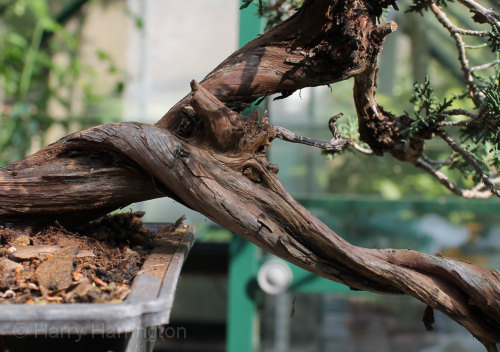
To my delight, the cleaning of the deadwood, as well as some gentle carving, revealed this 'Dragons Head' design at the top of the first branch.